 how-to
Machine Tool Spindle Repair Process Explained
Table of Contents
- What You'll Need Before Starting a Spindle Repair
- Step 1: Initial Evaluation and Spindle Failure Symptoms Diagnosis
- Step 2: Spindle Teardown and Inspection Process
- Step 3: Component Condition Assessment and Repair Planning
- Step 4: Cleaning and Precision Component Preparation
- Step 5: Spindle Reassembly and Precision Fitting
- Step 6: Spindle Balancing and Testing After Rebuild
- Spindle Rebuild vs Replacement Cost: When to Repair
- Frequently Asked Questions
Last Updated: October 13, 2026
What You'll Need Before Starting a Spindle Repair
A successful spindle repair process requires the right tools, workspace, and documentation.
Work in a clean, climate-controlled space: 65-75°F and below 50% humidity. Dust and temperature swings destroy rebuilt spindles.
Gather these essentials before you begin:
- Precision measuring tools (dial indicators, calipers, micrometers)
- Bearing pullers and installation tools
- Cleaning solvents rated for precision work
Document everything before touching anything: photos from multiple angles, plus serial number, model, and visible damage, as a post-repair baseline.
Machine Tool Science recommends detailed spindle maintenance records, that history reveals whether you're dealing with wear, contamination, or impact damage, each requiring different repair approaches.
Step 1: Initial Evaluation and Spindle Failure Symptoms Diagnosis
The first decision is whether your spindle can be repaired at all, some damage is catastrophic. Unusual sounds, vibration, or runout changes are early warnings.
Common spindle failure indicators
These symptoms point toward specific problems:
- Grinding or squealing noise: Bearing wear or contamination
- Excessive vibration: Imbalance, bearing damage, or shaft runout
- Thermal issues: Bearing preload problems or inadequate lubrication
Run the spindle at operating speed: vibration rising with speed suggests mechanical wear; sudden noise often means bearing contamination.
Documentation before disassembly
Before disassembly, create a complete record for correct reassembly.
Record these specifics:
- Current runout measurement at the taper and at the tool holder
- Vibration levels at operating speed
- Bearing preload condition (if accessible without disassembly)
Take high-resolution photos of the assembly, taper, and wear patterns, your reassembly reference and a record of what failed.
Step 2: Spindle Teardown and Inspection Process
Disassembly must follow a logical sequence, rushing causes secondary damage that turns a simple repair into a complete rebuild.
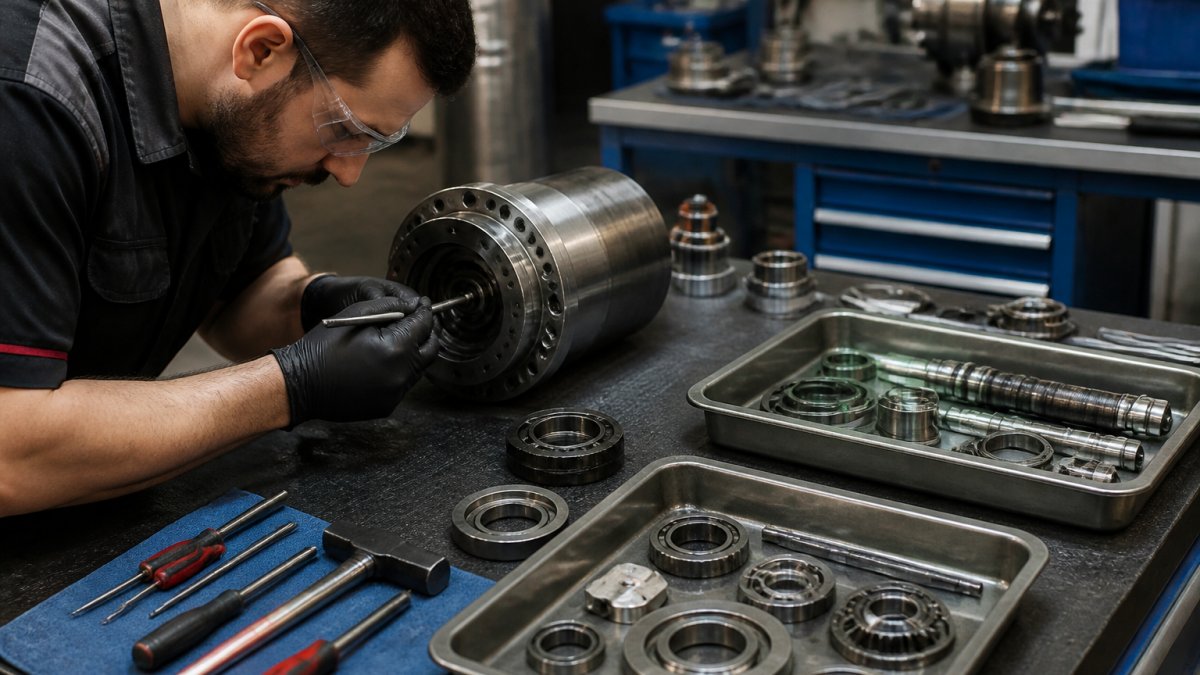
Disassembly sequence and component mapping
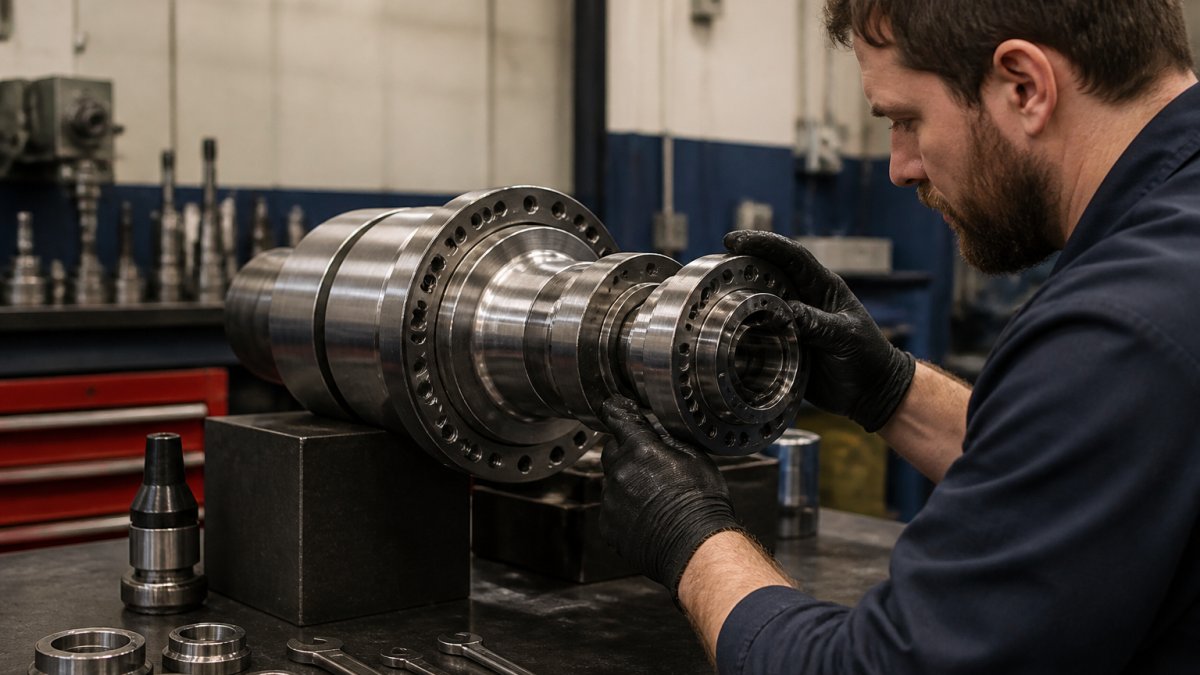
Work from the outside inward, documenting each component's position.
The typical sequence looks like this:
- Remove external fasteners and covers
- Disconnect electrical connectors and document their positions
- Extract the drawbar assembly
- Remove the tool release piston and spring
- Carefully extract the spindle shaft
- Remove bearings using proper bearing pullers
- Inspect the spindle housing for cracks or damage
Each step reveals what failed, a stuck drawbar differs from a loose tool release piston. Take notes.
Root cause analysis during inspection
Inspection is where diagnosis happens. Look for these patterns:
Bearing damage: Spalling, discoloration, or rough rotation indicates bearing failure. Dark discoloration suggests overheating from friction.
Shaft wear: The spindle shaft should measure to specification.
Taper condition: The tool holder taper is precision ground. Wear, corrosion, or impact marks here require refinishing.
Contamination: Fine particles embedded in bearing raceways mean something broke loose inside. Flush and inspect thoroughly.
Lubrication breakdown: Dark, gummy oil indicates thermal stress or contamination.
Step 3: Component Condition Assessment and Repair Planning
Once apart and clean, every critical surface is measured against specification, driving three decisions: what can be restored, what must be replaced, and whether the spindle is worth repairing.
How to measure the components that matter
Bearing fit is the difference between the shaft journal diameter and the bearing bore, and between the housing bore and the bearing outer diameter.
Shaft runout and straightness. Mount the shaft between centers or in V-blocks and indicate at several stations.
Taper condition and contact. Indicate the taper to measure runout, then check contact pattern with a tapered gage or known-good tool holder and bluing.
Turning measurements into a repair plan
Build a simple decision matrix from your measurements:
- Within specification, no damage: Clean, inspect, and reuse.
- Worn but restorable: Regrind, polish, plate, or sleeve. This applies to shafts, tapers, and housing bores.
- Damaged beyond restoration or a wear item: Replace. Bearings, seals, springs, and retention components are almost always replaced on a rebuild.
Repair versus replacement: the real math
The common rule of thumb: if the repair quote exceeds roughly half the price of a new spindle, replacement deserves consideration. But weigh these factors instead:
- Lead time. A new spindle may be quoted at several weeks or longer, especially for older or specialty machines. Repair turnaround is often days to a couple of weeks. Downtime cost frequently outweighs the price difference.
- Performance requirement. If the machine runs at high speed or holds tight tolerances, the rebuilt spindle must meet the original specification, not just spin. Ask what acceptance criteria the shop will certify to.
- Remaining machine life. Spending heavily to rebuild a spindle for a machine nearing the end of its service life rarely pays back.
- Upgrade opportunity. A rebuild is the moment to specify better bearings, improved sealing, or a lubrication upgrade. These can extend service life beyond the original design, but they add cost and should be justified by the application.
spindle and bearing tolerance guidance from a bearing manufacturer
Step 4: Cleaning and Precision Component Preparation
Cleanliness determines repair success. Contamination left behind will destroy your rebuild.
Use precision cleaning solvents designed for spindle work; avoid harsh chemicals that corrode bearing surfaces.
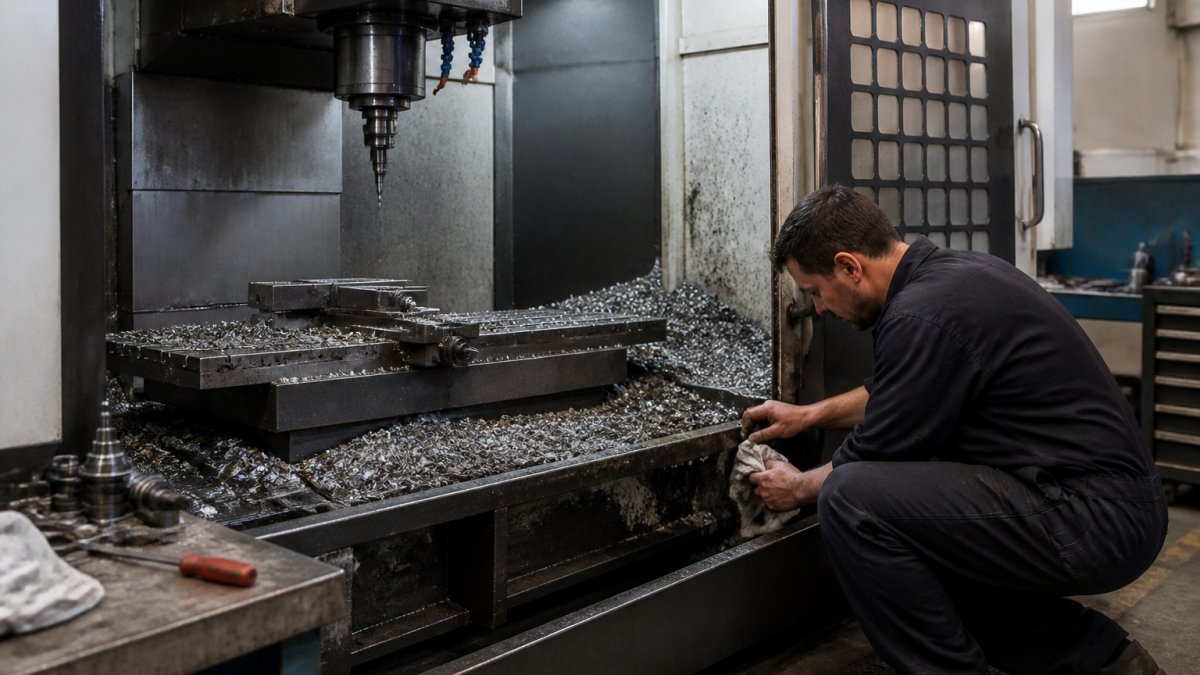
Pay special attention to bearing bores and shaft journals, remaining particles cause premature failure.
Inspect again after cleaning, dirt hides damage, and a component that looked acceptable may show wear once cleaned.
Step 5: Spindle Reassembly and Precision Fitting
Reassembly is not the reverse of disassembly, it requires precise sequencing and torque specs. Install bearings with correct preload: too much causes overheating and rapid wear, too little allows shaft movement that destroys precision.
Install the shaft carefully and verify runout before adding the next component, any runout indicates improper bearing installation or shaft damage. Install the taper and verify it runs true, since runout affects cutting precision.
Step 6: Spindle Balancing and Testing After Rebuild
A rebuilt spindle isn't finished when it turns freely, it's finished when balanced, broken in, and verified against measurable acceptance criteria. Shortcuts show up later as chatter, poor surface finish, short bearing life, and premature failure.
Dynamic balancing: what it is and how it is measured
Dynamic balancing corrects mass distribution around the axis of rotation.
A balancing machine measures vibration amplitude and phase at the bearings and calculates correction mass and location. Material is removed (grinding or milling) or added (set screws or balance weights).
Acceptance criteria are usually a permissible residual unbalance or vibration velocity limit at operating speed.
Runout verification
Runout is measured with a dial indicator or, for finer work, a capacitance or inductive probe, with the spindle rotating slowly, at:
- The taper, close to the gage line
- The tool holder contact surface
- The front and rear bearing journals, if accessible
Record TIR at each location and compare to the manufacturer's specification. A common target is low ten-thousandths of an inch or better at the taper, but the governing number is the builder's limit for that model. Runout growing with speed points to balance or bearing problems; runout at low speed points to geometry or assembly problems.
Break-in and thermal testing
Break-in is a controlled, stepped speed increase that lets bearing surfaces and preload settle without damaging heat.
Monitor bearing housing temperature throughout, it should rise then plateau. A spindle that keeps climbing at fixed speed has a preload, lubrication, or cooling problem.
Run at or near operating speed long enough to confirm thermal stability, commonly a couple of hours, logging temperature at intervals.
Vibration and acceptance testing
Vibration is measured with an accelerometer or velocity pickup at the spindle housing, at operating speed, and compared to the machine builder's limit or an industry standard for the spindle type and speed. High vibration at running speed usually indicates residual unbalance; harmonics can indicate bearing defects, misalignment, or looseness.
A complete post-repair acceptance test typically includes:
- Residual unbalance or vibration velocity within specification
- Runout at the taper and tool holder interface within specification
- Drawbar retention force within specification
- Stable temperature at operating speed
Documentation and handoff
A quality rebuild ships with a test report showing measurements taken, the specification compared against, and final values. Keep it with the machine's maintenance records, it becomes the baseline for the next inspection and helps detect drift before failure.
Spindle Rebuild vs Replacement Cost: When to Repair
The decision to rebuild or replace depends on more than price, consider downtime, reliability, and production schedule.
Repair turnaround and downtime factors
A spindle repair typically takes 5-10 business days, assuming no complications and parts availability; complex repairs or custom components extend that. Replacement is faster only with inventory on hand, ordering new takes 2-4 weeks in most cases.
Factor in production loss during downtime: a week of repair downtime costs far less than a month waiting for a replacement. For critical machines, that math favors repair.
Warranty and reliability after repair
A properly rebuilt spindle carries a warranty, typically 12 months, covering bearing failure and manufacturing defects, but not damage from contamination or improper post-repair maintenance.
Reliability after repair depends on execution: a spindle rebuilt to specification performs as well as new, while a rushed one fails prematurely.
The key question is whether your repair shop has the expertise and equipment to do this properly.
Frequently Asked Questions
What are the main spindle failure symptoms that indicate a repair is needed?
Common spindle failure symptoms include excessive vibration during operation, audible grinding or squealing noises, loss of spindle speed control, visible runout or wobbling, coolant leaks from the spindle housing, and degraded surface finish on parts being cut. Thermal instability, where the spindle overheats or fails to maintain temperature, is also a critical warning sign. If you notice any of these, stop operation immediately and request a diagnostic evaluation to prevent secondary damage to bearings, shafts, and other internal components.
How long does a typical machine tool spindle repair process take?
A complete spindle repair typically takes 5 to 10 business days, depending on component availability, the extent of damage, and whether parts require precision machining. Initial evaluation and disassembly take 1 to 2 days. Component repair or replacement, cleaning, and reassembly add 2 to 4 days. Dynamic balancing, testing, and a controlled break-in process require an additional 1 to 3 days. Emergency expedited repairs may be available; contact your service provider for turnaround options and current capacity.
When should I repair a spindle instead of replacing it outright?
Repair is typically the better choice when damage is localized to bearings, shaft journals, or the taper, components that can be replaced or precision-machined without replacing the entire spindle housing. Repair commonly costs 40% to 60% of a new spindle and can return the spindle to better-than-factory performance. Replace the spindle if the housing is cracked, multiple systems are damaged, or the spindle is obsolete. A factory-trained technician can evaluate your specific spindle and provide a repair-versus-replacement recommendation before you commit to either path.
What information should I provide when requesting a spindle repair?
Provide the spindle model number, serial number, current operating speed (RPM), spindle type (ER, ISO, or CAT taper), and a detailed description of symptoms and when they began. Include any recent service history, coolant type and maintenance schedule, and the machine tool brand and model. Document whether the spindle was dropped, exposed to contamination, or operated beyond rated speed. If possible, note the last successful spindle performance baseline. This information allows technicians to diagnose the root cause faster and provide an accurate repair quote and turnaround estimate.
Getting your spindle repaired correctly means starting with honest diagnosis. That's where Machine Tool Science begins every job. Our factory-trained technicians use comprehensive diagnostic fault isolation to identify the actual root cause before quoting any repair. We handle everything from emergency spindle rebuilds to complete remanufacturing, with transparent rates and no surprise billing. Contact us for a spindle evaluation and get your machine running again without guesswork.